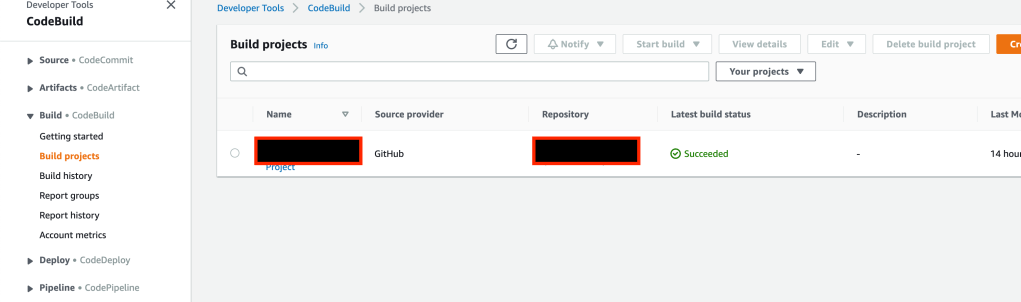
Step-1: From AWS console, go to “CodeBuild” -> “Build” -> “Create build project”

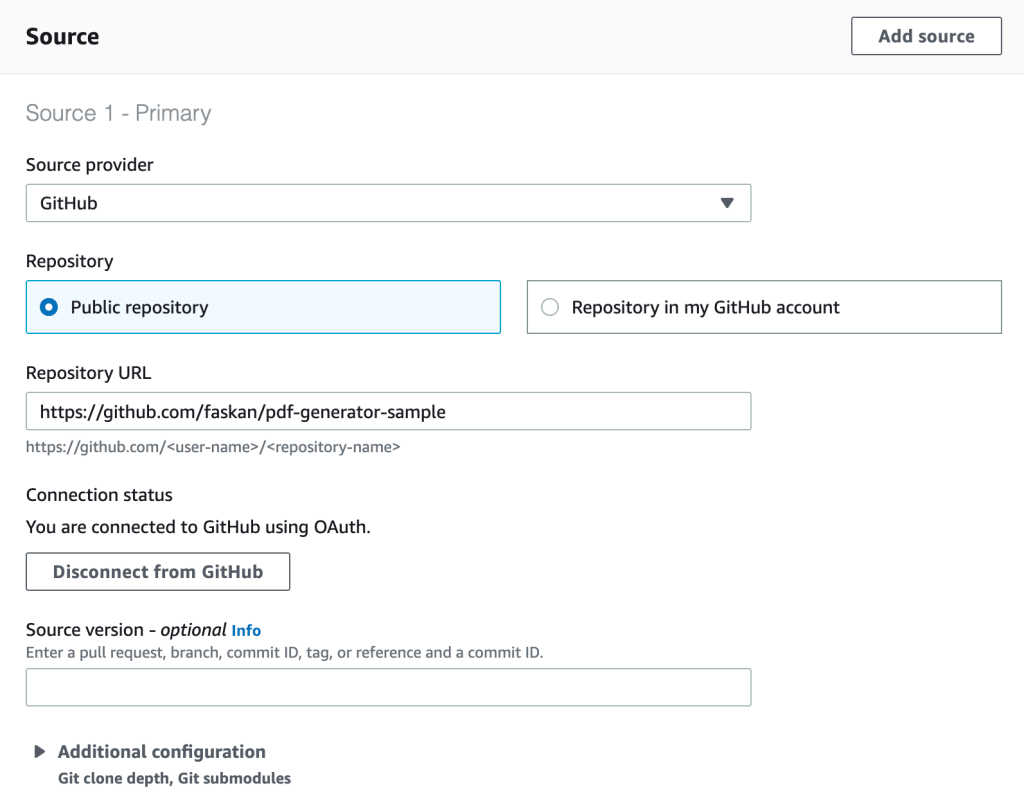
Step-2: Add a project name and choose your source code repository. Here I have chosen my public repository, you may choose your own private repository.

Step-3: Fill in environment details. If you are building a native image using container build, make sure that you choose Privileged – “Enable this flag if you want to build Docker images or want your builds to get elevated privileges”
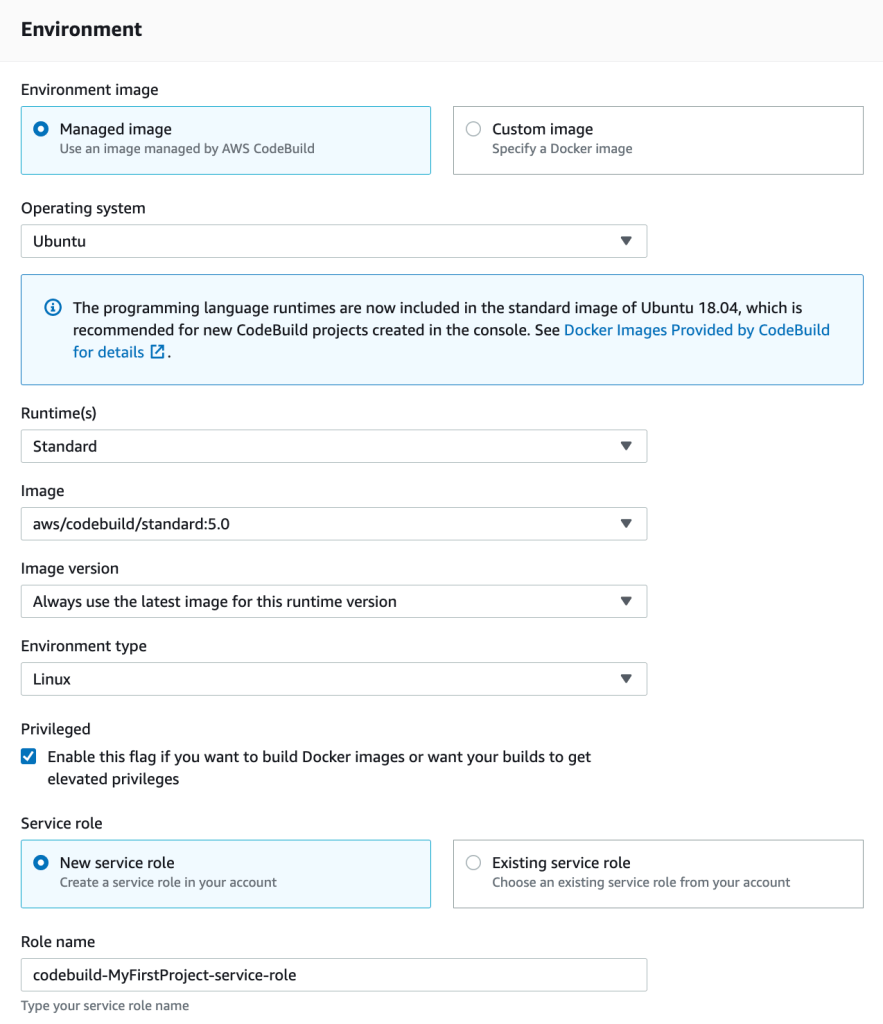
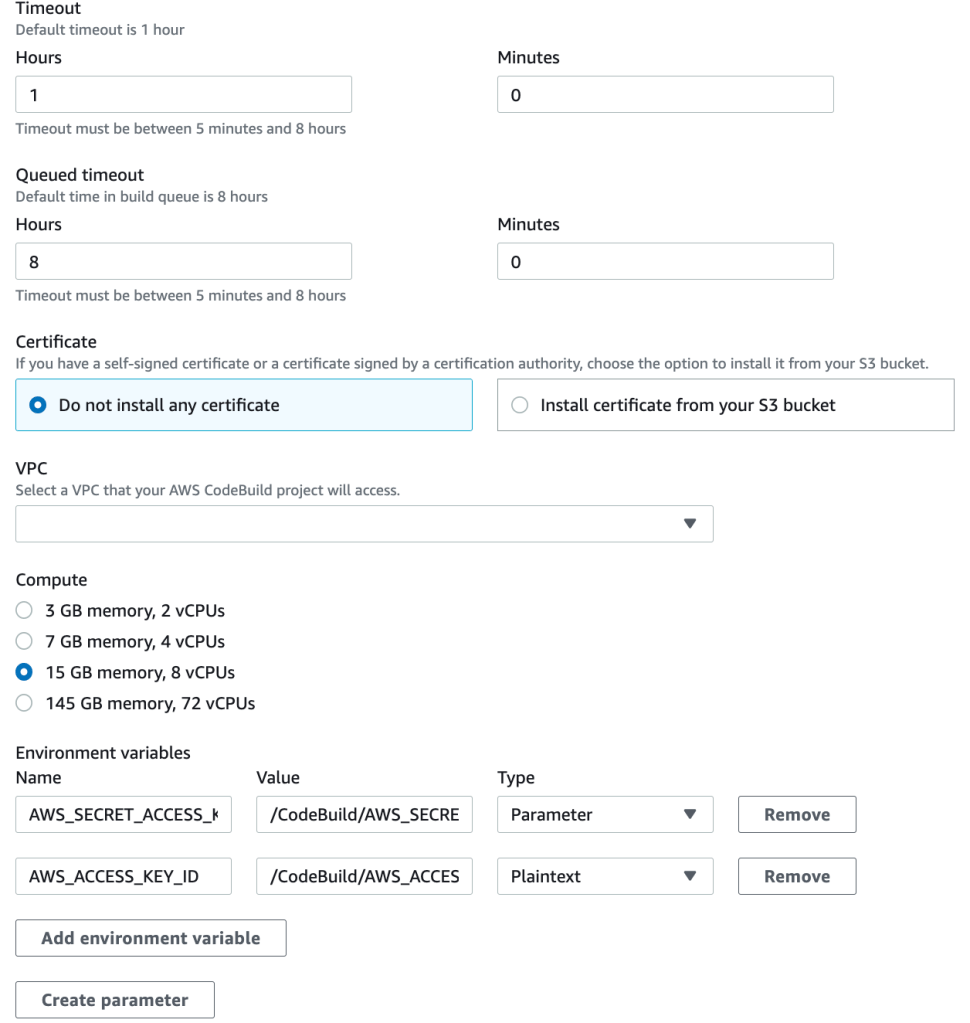
(Only for native images) To build native image, you will need more resources. Go to Additional configuration and choose more resources needed for your native build. Caution: More resources costs more money, so be sure that you are aware of the pricing model before you choose more resources.
Step-4: Choose a build spec. You can choose either a buildspec file or build commands. If you choose buildspec file, make sure that your source code has a buildspec.yml file

A sample buildspec yml content.
version: 0.2
phases:
  build:
    commands:
      - mvn package -Dnative -Dquarkus.native.container-build=true
      - sam build -t sam.native.yaml
      - sam deploy --config-file samconfig.toml --no-confirm-changeset --no-fail-on-empty-changeset
Important: The above buildspec does a deploy as well which is not the right thing to do especially when you have to deploy in to multiple environments like staging and production. Normally you should install the artifacts to an artifacts repository and create a code pipeline to deploy to different environments (I will cover it in a future post).
Also note that my buildspec refers to a samconfig.toml that was generated using sam guided deployment (sam deploy –guided).
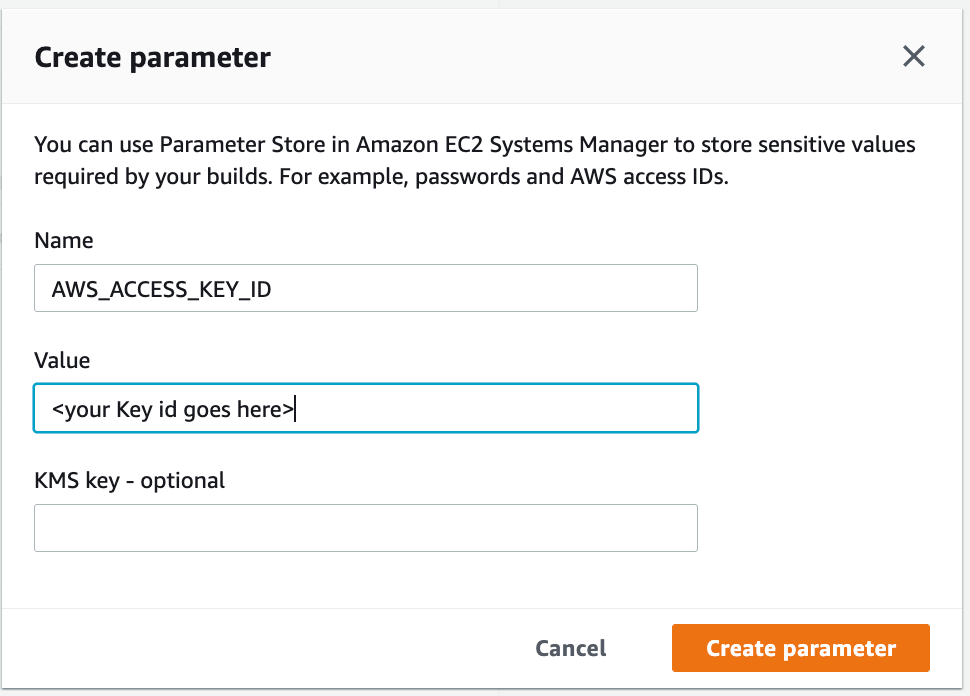
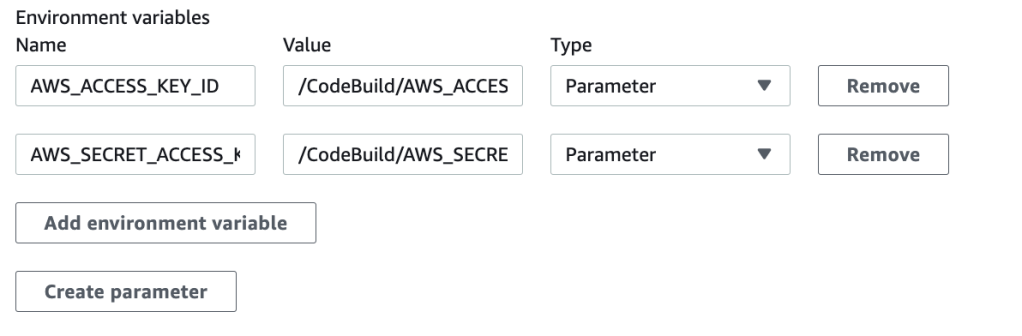
If you prefer to deploy as part of this build project, make sure to add your AWS credentials as parameters in additional configuration
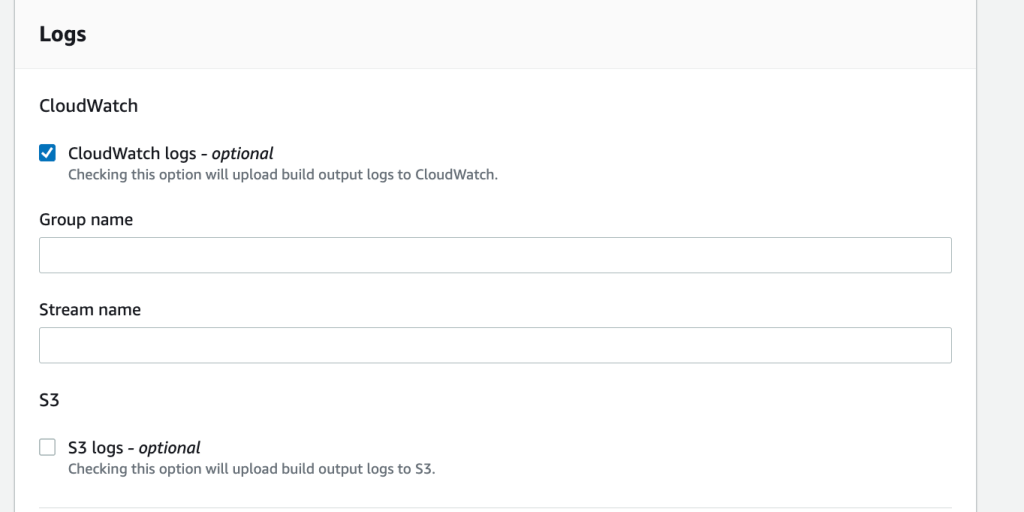
Enable Cloud Watch Logs or S3 Logs to see the build logs
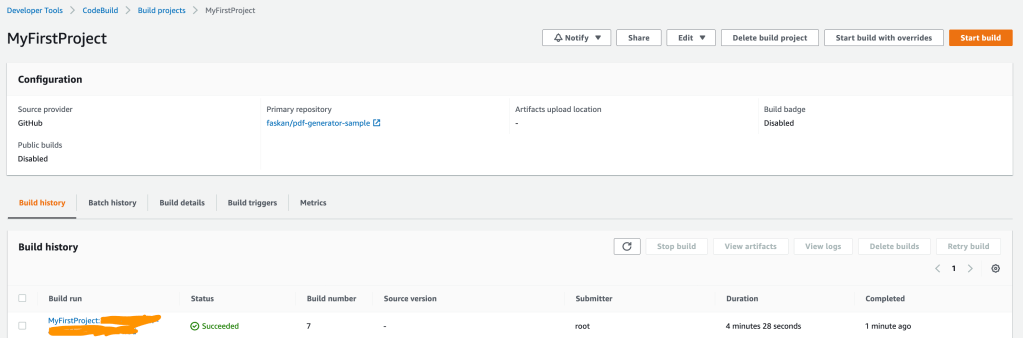
Step-5: Now create build project and start build. Wish you a successful build.